My favorite method for cleaning silver: easy, DIY and non-toxic!
by Tawny Reynolds on Feb 25, 2016

 Want an easy, non-toxic, and DIY way to get rid of that tarnish? Look no further!
Last time I gave you four tips to keep your silver sparkling. But what about when it’s too late? To paraphrase, "tarnish happens." No matter how well you care for your silver, unless you keep it hermetically sealed in a dry, dark place, it will eventually start to tarnish. And what’s the point of having jewelry hermetically sealed away??
So, when it happens, here are my go-to methods for getting my silver sparkling again...
Method Number 1: Buff with a soft cloth.
I use Sunshine polishing cloths, which remove light tarnish very well and won’t scratch your sterling silver. (I’ve just added them to my shop!)However, they are less effective at dealing with heavy tarnish, and it’s difficult to get the cloth into small cracks or crevices. And, just like any other “polishing” method, whether you use a cloth, liquid dip, or rub with baking soda or toothpaste, removing the tarnish is actually removing the silver.
Chemistry time:
Silver “tarnishes” by combining with sulfur and turning into silver sulfide. When you rub off the tarnish, you’re taking off the silver sulfide, removing the top layer of the silver. If you’ve got plated silver rather than solid sterling silver, eventually the silver plating is going to rub through and you’ll be able to see the base metal underneath - that’s why Grandma’s silver plated teapot has some pink copper or bronze showing through around the edges. And, any pattern will eventually be worn down and become less visible.
That’s why my preferred method for heavy tarnish is to do some kitchen chemistry...
Method Number 2: Kitchen chemistry time!
Take the recipe into the kitchen with you: download the printable instructions.
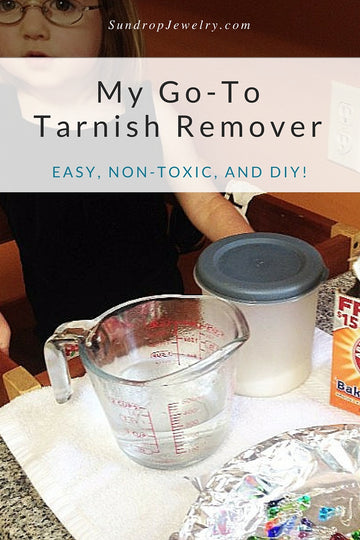
Don’t worry, it’s easy! You only need two ingredients from your kitchen, plus aluminum foil.
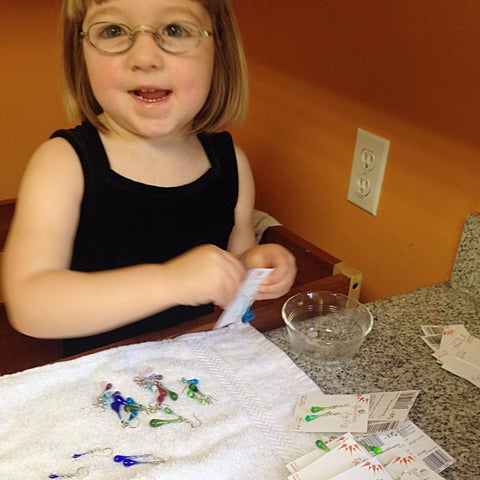
Some very tarnished jewelry returned to me from a shop that closed down. I got my toddler into the kitchen to help demonstrate just how easy it is... except the waiting. As anyone with a toddler knows, that part is not so easy.
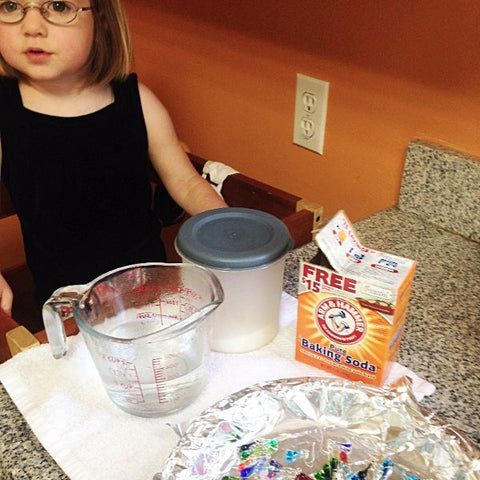
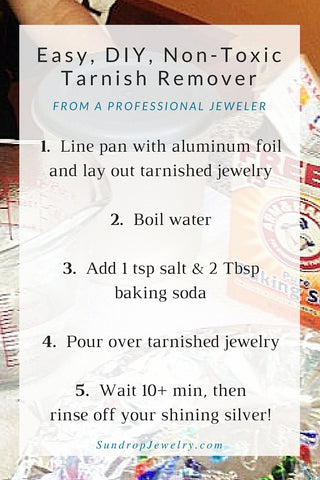
First, line a glass or ceramic bowl with aluminum foil. (Don't use an aluminum pot!)
Lay out the jewelry on the foil, with as much of the tarnished areas touching the foil as possible.
Heat water to boiling (enough to cover all the jewelry) in a container about twice as large - for example, 1 c. water in a 2 cup measuring cup.
Add roughly 2 Tablespoons baking soda and a 1/2 teaspoon salt per cup of water (measurements don't have to be exact) to the boiling water. Stir it until everything is dissolved - it will fizz up like crazy.
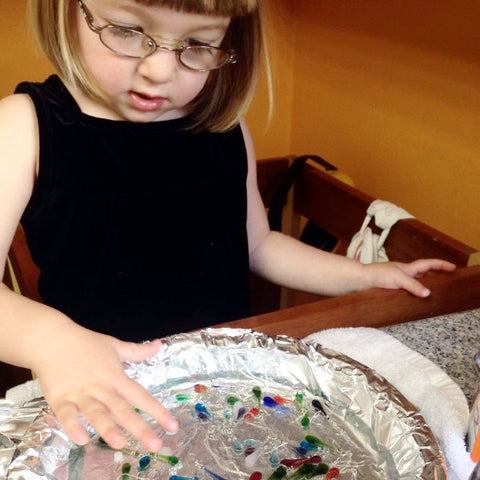
Pour the water over the jewelry - you may need to spread the jewelry out again. I find that pressing more foil lightly on top of the jewelry makes this even more effective. You want the tarnished silver touching the foil as much as possible, but not so tightly that the water is all squeezed out.
Leave for at least a few minutes, or longer depending on how tarnished the pieces are - I sometimes leave mine overnight.
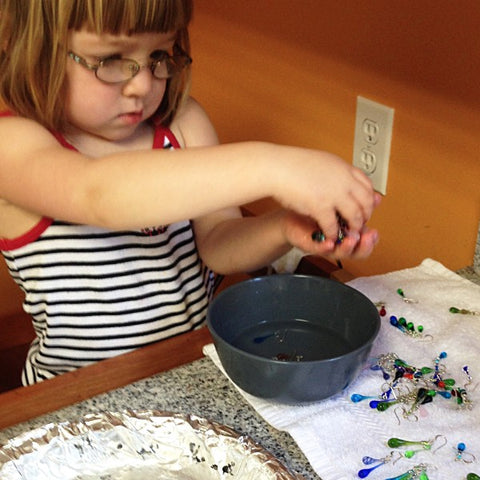
Pour out the water and rinse jewelry in clean water until it no longer feels slippery - be sure to plug the sink or do this over a bowl! It's a real pain to have an earring go down the drain. (Don't ask me how I know this.)
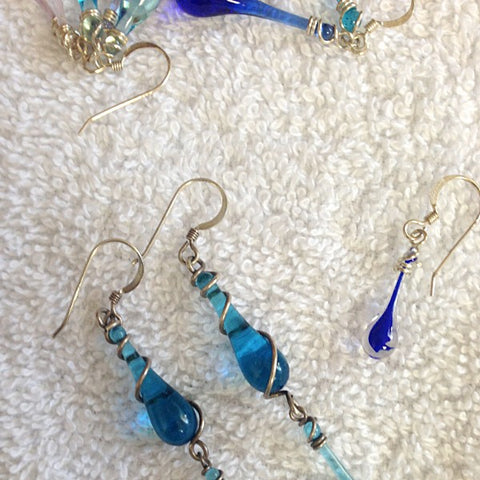
Dry with a soft cloth or towel - the silver will be much brighter!
If it isn't completely de-tarnished, you can repeat the process multiple times. I find that heavily tarnished chains or other pieces with lots of nooks and crannies will need more than one round of treatment. But get a new piece of aluminum foil - you can see in the picture that there are holes in the foil where it reacted with the sulfur.
Want to print out these instructions? I made a detailed one-page pdf with step-by-step instructions for you!
Get the printable instructions
The awesome thing about this method is that it is actually converting the tarnish back into silver, rather than rubbing it off. When you polish silver by rubbing the tarnish off, over time the details get rubbed off too - or, if it's silver plated rather than solid silver, you can even rub through to the metal underneath!
In case you're interested in the chemistry part...
As I’ve said, silver tarnish is actually silver that has combined with sulfur to make silver sulfide, which is black. However, sulfur can also combine with aluminum, and actually "prefers" aluminum over silver. So, what we're doing is creating the best environment for the sulfur to move over to the aluminum, leaving the silver behind in its original state. Rather than removing the silver, this method turns the tarnish back into silver!
Don’t use this baking soda bath for oxidized silver pieces. These are pieces with details or crevices that have been purposefully allowed to become dark, even black, in order to make them stand out more. Just like the rest of the piece, those oxidized details will start changing from black silver sulfide into sparkling silver once more! For these items, stick with polishing them with a soft cloth.
Do you have some jewelry that's gotten a bit tarnished? Try this out! I'd love to hear how it works for you!
And, if you're looking for some new silver jewelry check out my newest collection - Circular Motion! It's full of dynamic, swinging circles of glittering sterling silver and colorful pops of sun-melted glass!


I cleaned a piece of jewelry with commercial silver cleaner. As you said, it dissolved the oxidation and now the piece is just plain silver. Still pretty, but not nearly as much as it had been. Is there any way to re-oxidize the parts that had been oxidized before, without the help of a professional? I’ve tried letting it tarnish so I could polish it without touching the tarnished parts, so the would be gray/black again, but the 925 silver took years to tarnish even a little in the first place.
Muchas gracias. ?Como puedo iniciar sesion?
Aluminum itself is a toxic heavy metal. I would have some professional with interest in non-toxic methods confirm that this method will not cause other toxic exposure. For example, is some amount of some gas released? What kind? What is its toxicity?
And here is a general article about aluminum toxicity:
https://articles.mercola.com/sites/articles/archive/2014/03/22/aluminum-toxicity-alzheimers.aspx
Hi. Thank you for this information. Do you have any thoughts about using this method on a tarnished, silver-plate platter, about 14″ × 18″? Thank you!
Hi Mary, thanks for asking! It depends what kind of stone is in your silver jewelry. Hard, cut gemstones such sapphires or rubies can take this treatment just fine. However, opaque stones such as turquoise, jade, or lapis are porous, and will absorb liquid. These stones should not be immersed in any liquid – stick with a soft dry cloth to clean these pieces.